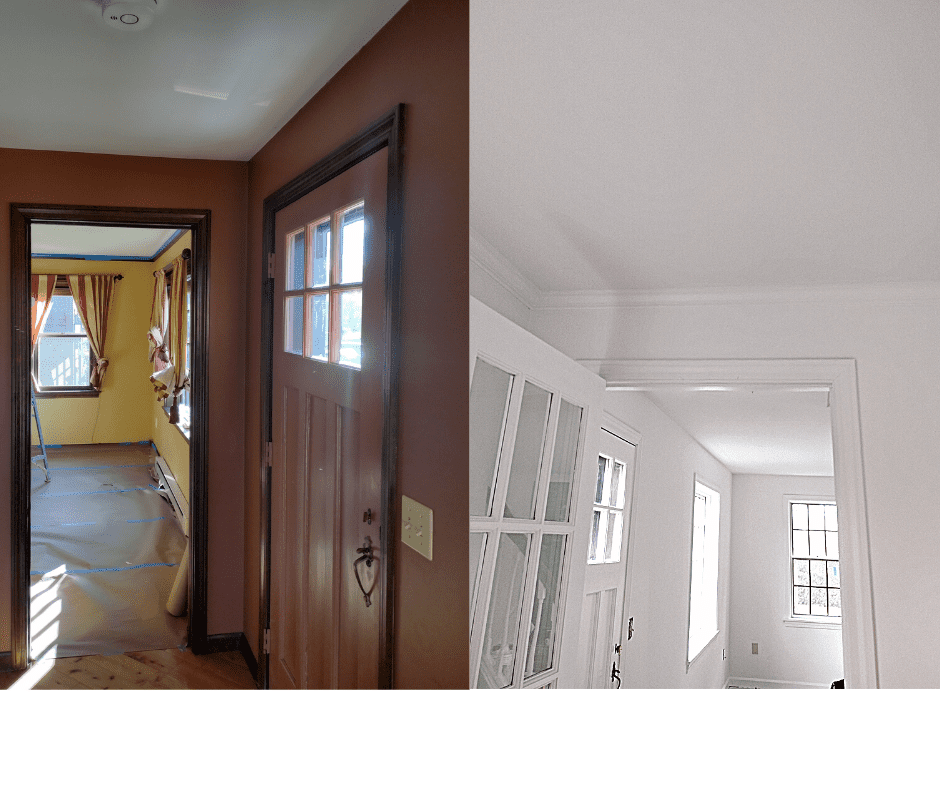
Painting your home’s interior is a fantastic way to refresh its look and feel. Whether you’re aiming to update your decor, cover up some wear and tear, or simply add a pop of color to your space, the key to a successful paint job lies in the preparation. Properly prepping your walls is essential for achieving a smooth, long-lasting finish. To help you get started, we’ve put together a comprehensive checklist to ensure your painting project goes off without a hitch.
Gather Your Supplies
Before diving into any painting project, it’s essential to gather all the necessary supplies. Make sure you have the following on hand:
Paint: Choose the right type and color for your project. Consider the finish as well, as it affects the final look and durability of your paint job.
Primer: If your walls are stained, have patches, or if you’re making a drastic color change, primer is a must. It helps the paint adhere better and provides a consistent base.
Paintbrushes and Rollers: High-quality brushes and rollers make a noticeable difference in the final result.
Drop Cloths or Plastic Sheeting: Protect your floors and furniture from paint splatters and drips.
Painter’s Tape: Use painter’s tape to mask off areas you don’t want to paint, like trim, baseboards, and ceilings.
Spackling Paste: Fill any holes or cracks in the wall to create a smooth surface.
Sanding Tools: Sandpaper or a sanding block for smoothing rough spots and removing old paint or texture.
Cleaning Supplies: Mild detergent, sponges, and rags for cleaning the walls.
Ladder or Step Stool: Make sure you can easily access all areas you need to paint.
Prepare the Room
The first step in your interior painting preparation is to get the room ready. Here’s what you need to do:
Clear the Space: Remove as much furniture and decor as possible. Cover the remaining items with plastic sheeting or drop cloths to protect them from dust and paint.
Protect Flooring: Lay down drop cloths to safeguard your floors from paint drips and spills.
Remove Hardware: Take off light switch covers, outlet plates, and any other fixtures attached to the walls.
Repair Wall Imperfections: Fill holes, cracks, and dents with spackling paste. Allow it to dry, then sand the patched areas until smooth.
Clean the Walls: Dust and wash the walls to remove dirt, grease, and other contaminants that can affect paint adhesion. TSP (Trisodium Phosphate) is an excellent cleaner for this purpose.
Tape and Mask
To ensure clean lines and avoid painting areas you don’t want to, follow these steps:
Tape Off Trim and Edges: Use painter’s tape to protect baseboards, crown molding, and any other trim work.
Tape Ceiling and Corners: Carefully apply tape along the ceiling and corners to prevent any accidental smudging or overlapping onto adjacent surfaces.
Prime the Walls
Priming is a crucial step, and it’s often skipped, but it can make a significant difference in the final look and durability of your paint job. Here’s what you need to do:
Apply Primer: Apply a coat of primer to the walls, especially if you’re painting over a dark color, covering stains, or working on new drywall. Allow it to dry completely before proceeding.
Start Painting
Once you’ve prepped the room and the walls, you can begin the painting process:
Cut In: Use a high-quality paintbrush to cut in around edges, corners, and trim.
Roll the Walls: Roll paint onto the walls in a “W” or “M” pattern to ensure even coverage. Work in manageable sections, and maintain a wet edge to avoid lap marks.
Apply Additional Coats: Depending on the color and type of paint you’re using, you may need to apply two or more coats. Follow the manufacturer’s instructions for drying times between coats.
Remove Tape: Once the paint is dry, carefully remove the painter’s tape while pulling it back on itself to avoid pulling off fresh paint.
Clean Up
The final step is cleaning up the mess and making sure your room is ready for use:
Clean Brushes and Rollers: Wash your painting tools with warm, soapy water.
Dispose of Materials: Properly dispose of used paint cans, drop cloths, and other materials following your local regulations.
Return Furniture: Once the paint is dry and the room is free of fumes, return furniture and decor to their rightful places.
Enjoy Your Newly Painted Space: Step back and admire your refreshed and beautifully painted room.
Prepping your walls for interior painting is a crucial part of the process that ensures a professional-looking, long-lasting finish. While it may be tempting to skip some of these steps, taking the time to do it right will save you headaches and provide a stunning result. So, roll up your sleeves, follow this checklist, and get ready to transform your living space with a fresh coat of paint.

