
Are you ready to give your home a new look? Painting your walls is a great way to add a fresh touch to any room. But with so many colors and techniques to choose from, it can be overwhelming. To help you out, we’ve compiled a list of 10 painting tips that will make your walls pop!
Painting your walls is one of the easiest and most effective ways to transform your home. With the right colors and techniques, you can create a stunning and unique space that reflects your personal style. However, painting can be a daunting task, especially if you’re not experienced. Details matter when painting; taking 30 seconds to prep your work materials and space properly can save you tons of headache once you get started.
Choose the right colors
The colors you choose for your walls can have a big impact on the overall look and feel of your space. Before you start painting, consider the mood you want to create and the other colors in the room. You can use a color wheel to help you choose complementary colors that will enhance each other and create a harmonious balance.
Prep the walls
Preparation is key to achieving a flawless finish. Before you start painting, make sure your walls are clean, dry, and free from any cracks or holes. Use a spackling compound to fill any imperfections and sand the surface to create a smooth and even base for your paint. If the walls have recently been primered, wipe them down with a damp towel to get rid of any dust leftover from sanding – you don’t want this to get mixed with your paint and create an uneven finish.
Use high-quality paint
Investing in high-quality paint can make a big difference in the overall look and durability of your walls. Choose a paint that is formulated for the type of surface you’re painting and that has a high concentration of pigments for vibrant and long-lasting color. We prefer Sherwin Williams, “Emerald” paint for interior walls at Willard and Ward, as we’ve found it’s the best blend of affordability and quality. But even with a good quality paint, you need the right tools and a good primer as the foundation of any successful paint job.
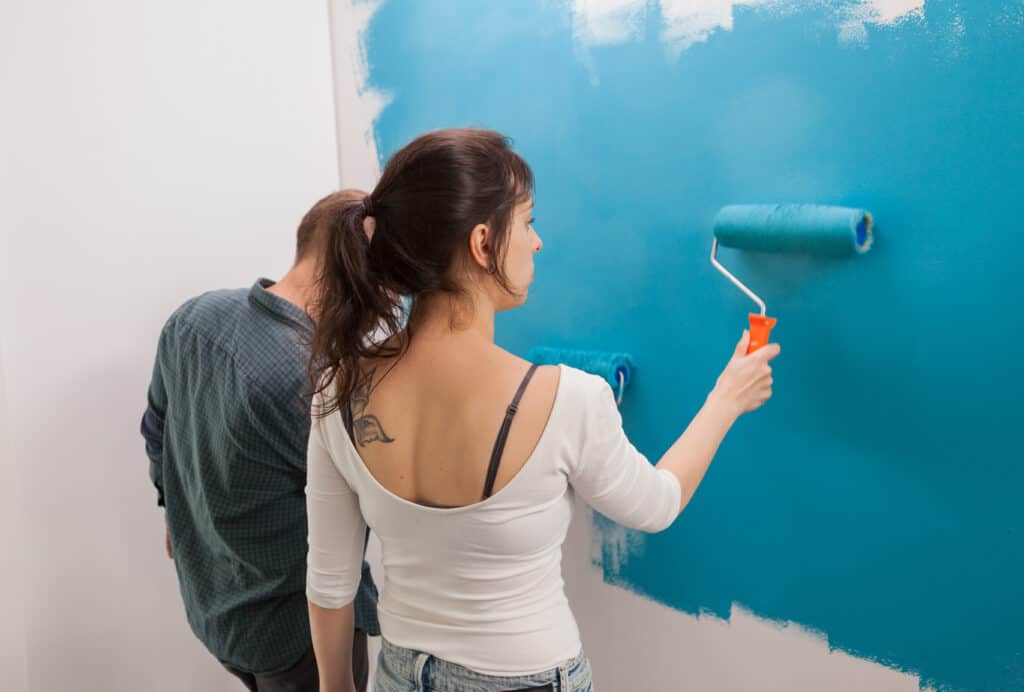
Use the right tools
Using the right tools can help you achieve a more professional-looking finish. Use a high-quality paintbrush or roller to apply your paint, and choose the right size and type of tool for the job. For example, use a small brush for cutting in around corners and edges, and a larger roller for painting large areas.
Use a primer
Using a primer can help your paint adhere better to the wall and create a smoother and more even finish. It can also help to cover any stains or discoloration on the wall. Choose a primer that is formulated for the type of surface you’re painting and that is compatible with your paint.
Don’t skimp on coats
One of the most common mistakes people make when painting their walls is not applying enough coats of paint. Depending on the color and type of paint you’re using, you may need two or three coats to achieve the desired coverage and depth of color. Be patient and take the time to apply the right number of coats. You’d be surprised at how many spots can get missed or look uneven on the first round – better to plan on 2-3 coats from the start to ensure the color really pops.
Use a cut bucket
Using a cut bucket can help you work more efficiently and reduce the risk of spills or drips. Pour a small amount of paint into the cut bucket and use it for cutting in around corners and edges. This will help you avoid dipping your brush into the main paint can and potentially contaminating the entire batch with any dust or drywall particles that may be lingering in the corners.
Work in sections
Working in sections can help you avoid getting overwhelmed and ensure that you achieve a consistent finish. Start at one end of the wall and work your way across in sections, applying the paint in a smooth and even motion. Take breaks as needed to avoid fatigue and maintain your focus.
Use a paint shield
Using a paint shield can help you achieve a clean and crisp line between the wall and the ceiling or trim. Place the shield against the surface you want to protect and paint up to the edge of the shield. This will help you avoid getting paint on the wrong surface and create a professional-looking finish.
Clean up properly
After you’ve finished painting, make sure to clean up properly. Wash your brushes and rollers thoroughly with soap and water, and store them in a dry and dust-free area. Dispose of any paint or materials properly, according to your local regulations.
Painting your walls can be a fun and rewarding DIY project, but it requires some preparation and attention to detail to achieve a professional-looking finish. Being thorough in your preparation and making sure you have everything you need before you get started is the best way to minimize frustration and mistakes along the way. At Willard and Ward, we’ve learned the hard way over the last 30 years that following these procedures is the best way to ensure each paint job is completed to the customers satisfaction. Unsure of where to start? Give us a call today for a free estimate!